Image Source: Google
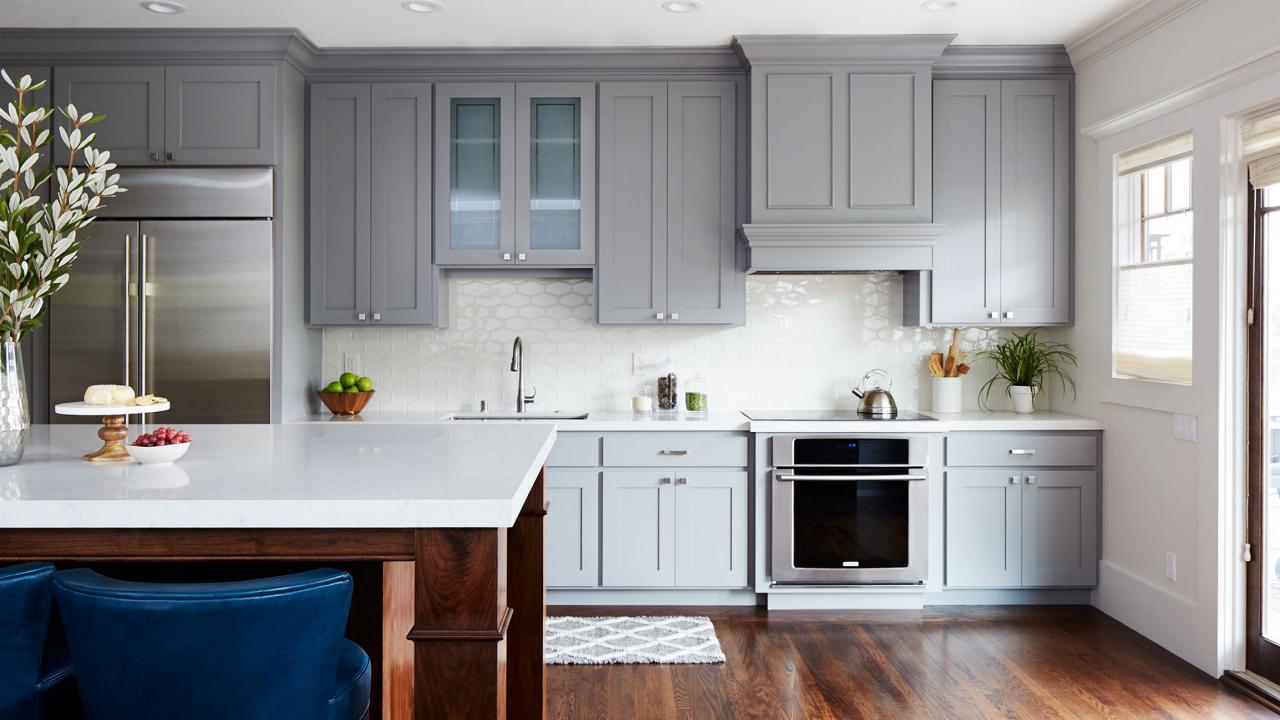
Are you looking to give your kitchen a fresh new look without breaking the bank? The best kitchen cabinet repainting can be a cost-effective way to revamp your space and breathe new life into your home. Whether you want to update the color of your cabinets or simply refresh the existing paint job, repainting your kitchen cabinets can make a huge difference in the look and feel of your kitchen. In this ultimate guide, we will walk you through everything you need to know to successfully repaint your kitchen cabinets and achieve professional-looking results.
1. Preparing Your Kitchen Cabinets
Assess the Condition
- Check for any damage, such as cracks or dents, and repair them before painting.
- Remove all hardware, including knobs and handles, from the cabinets.
- Clean the cabinets thoroughly to remove any grease, dirt, or grime buildup.
Sanding and Priming
- Lightly sand the cabinets to create a smooth surface for the paint to adhere to.
- Apply a coat of primer to ensure better adhesion and a more durable finish.
2. Choosing the Right Paint
Types of Paint
- Latex paint: Easy to clean and dries quickly, great for kitchen cabinets.
- Oil-based paint: Provides a more durable finish but has a longer drying time and strong odor.
- Chalk paint: Offers a matte finish and requires minimal prep work.
Finish
- Gloss: Reflects light and is easy to clean, but shows imperfections more easily.
- Satin: A versatile finish that strikes a balance between gloss and matte.
- Matte: Hides imperfections well but can be harder to clean.
3. Painting Your Kitchen Cabinets
Techniques
- Use a brush, roller, or sprayer to apply the paint, depending on your preference and the type of paint you choose.
- Apply thin, even coats of paint to prevent drips and achieve a smooth finish.
- Allow each coat to dry completely before applying the next coat.
Tips for a Professional Finish
- Work in a well-ventilated area to ensure proper ventilation while painting.
- Use high-quality brushes and rollers for a smoother finish.
- Take your time and be patient – rushing the process can lead to mistakes and a less-than-perfect result.
4. Finishing Touches
Reattaching Hardware
- Once the paint has dried completely, reattach the hardware to the cabinets.
- Consider updating the hardware for a fresh new look.
Sealing the Paint
- Apply a clear topcoat to protect the paint and provide a more durable finish.
- Choose a topcoat that is suitable for kitchen cabinets and will hold up to daily wear and tear.
5. Maintaining Your Repainted Cabinets
Cleaning
- Regularly clean your cabinets with a mild soap and water solution to keep them looking their best.
- Avoid using harsh chemicals or abrasive cleaners that can damage the paint finish.
Touch-Ups
- Keep extra paint on hand for touch-ups as needed to maintain the appearance of your cabinets.
- Store the paint in a cool, dry place to ensure it remains usable for future touch-ups.
Repainting your kitchen cabinets is a rewarding DIY project that can transform the look of your kitchen and enhance the overall aesthetic of your home. By following this ultimate guide and taking the time to properly prepare, paint, and finish your cabinets, you can achieve professional-looking results that will make your kitchen feel like new. So, gather your supplies, roll up your sleeves, and get ready to revamp your space with a fresh coat of paint on your kitchen cabinets!